Search
Using the Search page
On the Search page you can change views, sort and filter search results, export search results, copy item IDs, or open items in the item editor.
Change the current view
- Click the Viewing menu (in the upper-right corner of the page) and select a view. If you don't have any custom views, you can add a new view.
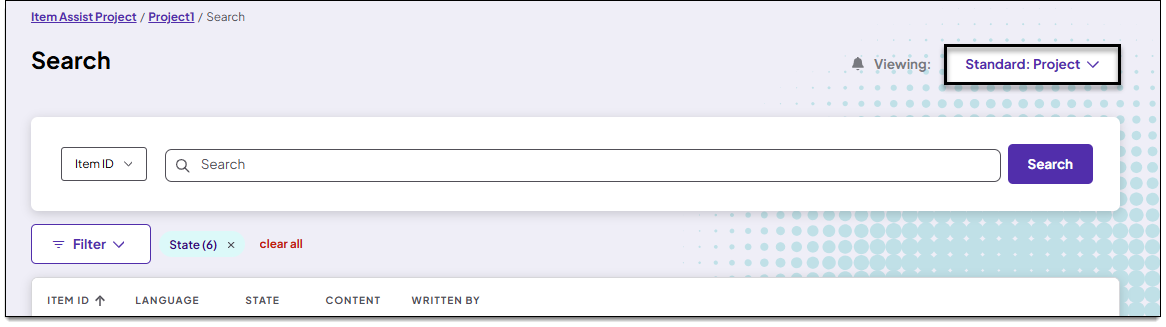
 The Standard: Project view is shown by default, which displays items for the project you're currently viewing. If you're an item bank manager, you can also choose the Standard: Item Bank view to include items from your entire item bank.
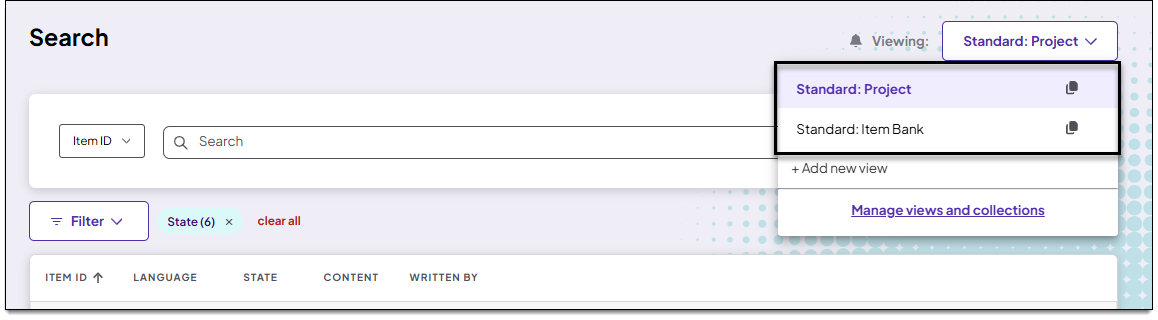
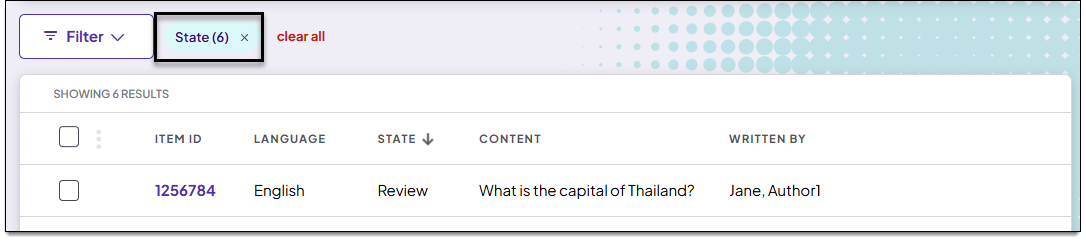
The Standard: Project and Standard: Item Bank views filter out obsolete items by default. You can add obsolete items back using the State filter.
Sort search results
- Hover over a column header, such as Item ID.
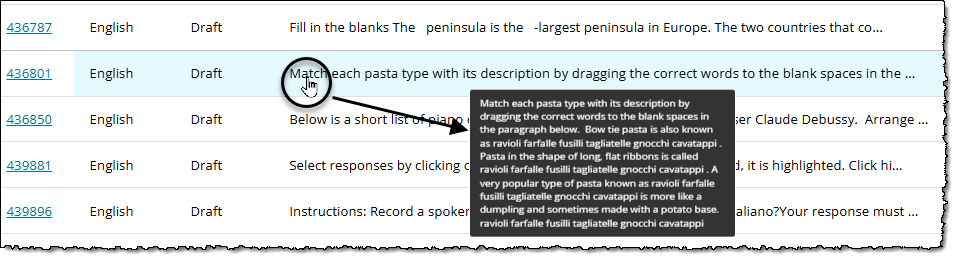
- The Content column displays more item content when you hover over the desired row (the initial view in the search results table only shows a short preview of the item content in that row).
- Click the up or down arrow that appears next to the column header. This will sort the search results according to the column properties in ascending or descending order.
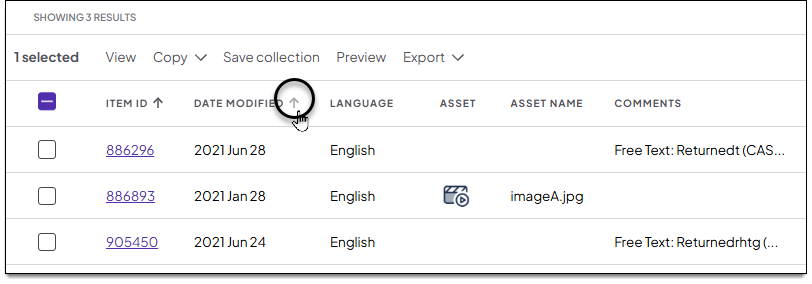
- The current sorting order will be reset each time you sort on a different column.
- The sort arrow on each column will toggle between up and down.
Filter search results
- Click the Filter menu to display options.
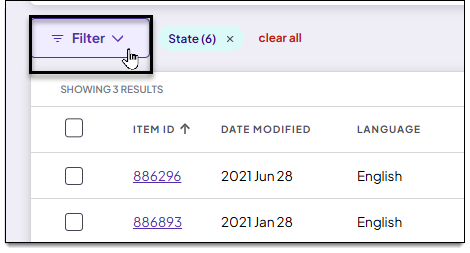
- Select a filtering category in the left panel, such as Item type. Then select the desired options in the right panel.
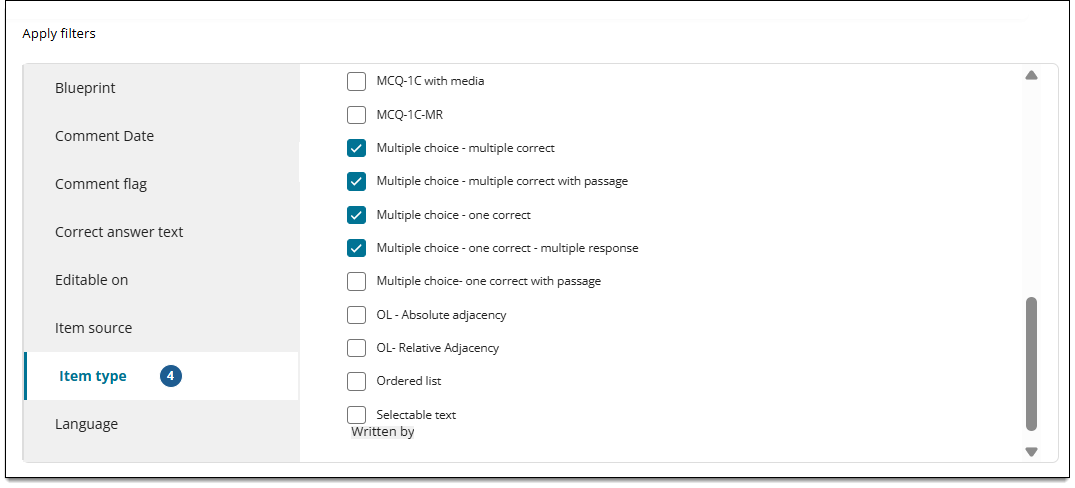
- Click Apply.
- The search results will only include items that match the filters you applied.
View items in the item editor
- You can click an item ID in the search results to open it in the item editor.
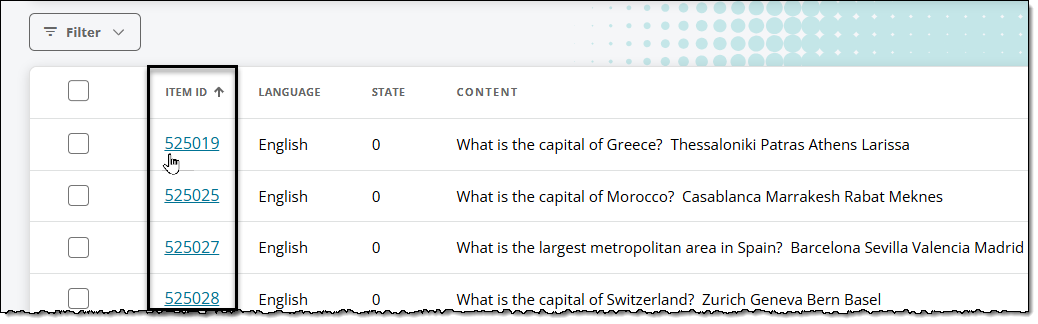
- The
 icon indicates that an item can only be viewed and cannot be edited. (The item is set to viewable only in the project.)
- The
 indicates that the item was created or modified (including refinements or translations) using Item Assist.
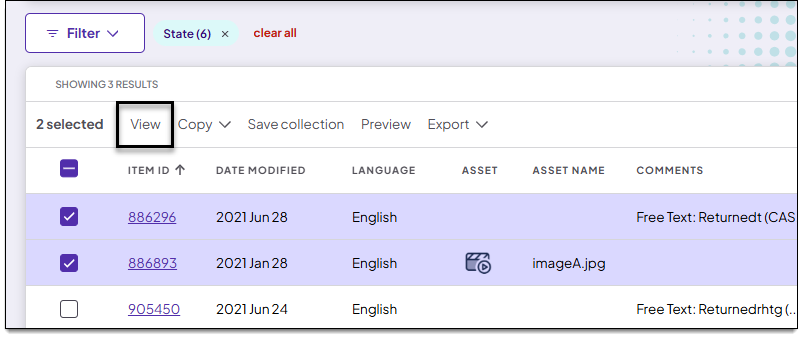
- To open a batch of items, select the desired items (or click the top-left checkbox to select all items). Then click View in the search results toolbar.
Copy item IDs
- Select the checkbox next to one or more items (or click the top-left checkbox to select all).
- Click Copy > IDs in the search results toolbar.
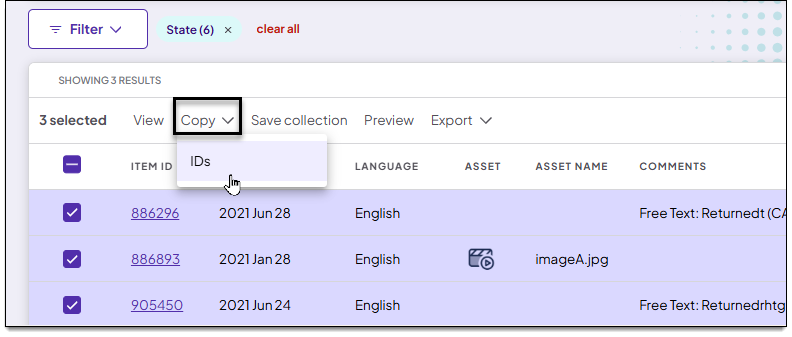
- The item IDs can now be pasted into a spreadsheet or text editor to be used as needed.
Save items to a collection
You can select items from your search results and add them to an existing collection or create a new collection. Learn more about saving collections here.
Preview items
You can launch a preview of one or more items in the search results using a sample browser-based test driver (Exam Preview). This shows how the items will appear to candidates during exam delivery. View this topic for more information.
Export search results
You can export search results to an XLSX file. View this topic for more information.
Start a new search
- Click Clear all to remove any applied filters.
- Clear any text input in the search box (such as item IDs or item content).
- Click Search to reset the items.
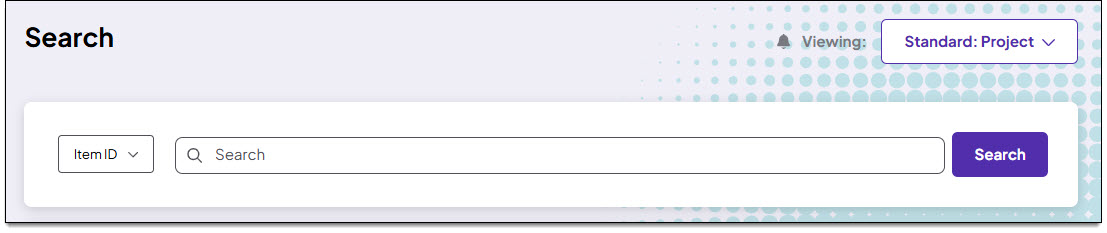
Alternatively, you can change the view by clicking the Viewing menu in the upper-right corner of the page and select the desired view.